We have several photo galleries for you to choose from. Click on any of the links below to move to that section or simply scroll through all of the galleries below. Click on any photo to enlarge the gallery.
Photo Galleries


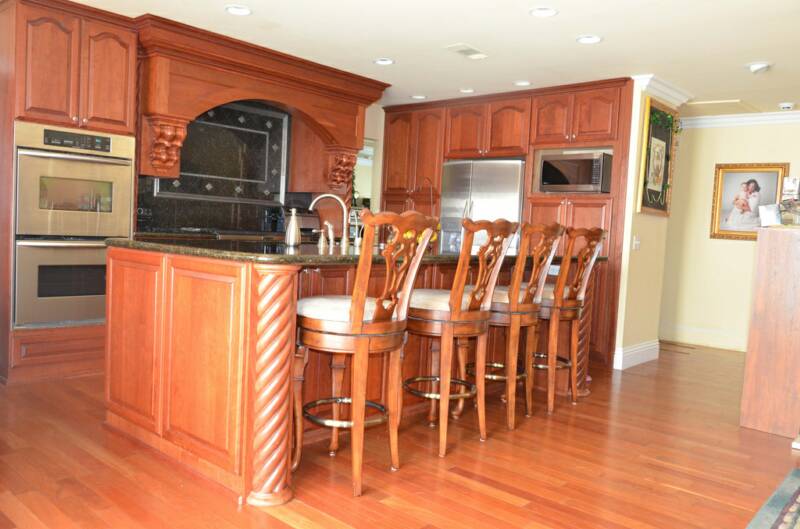
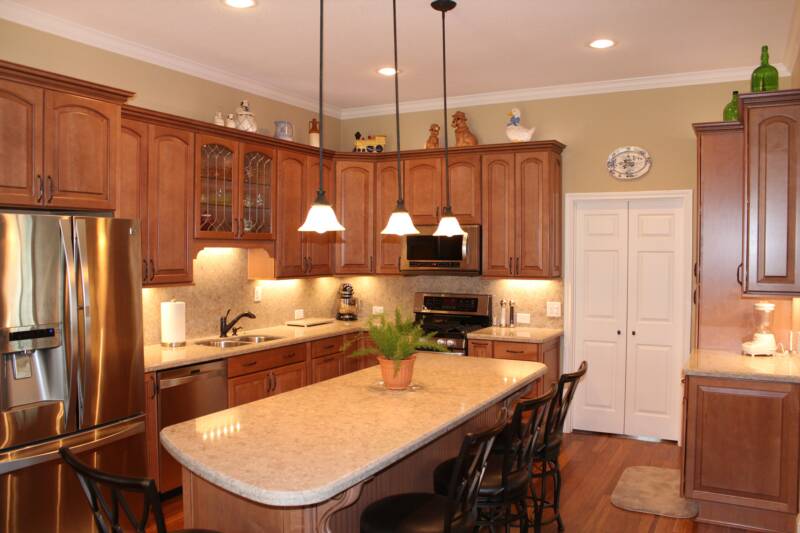
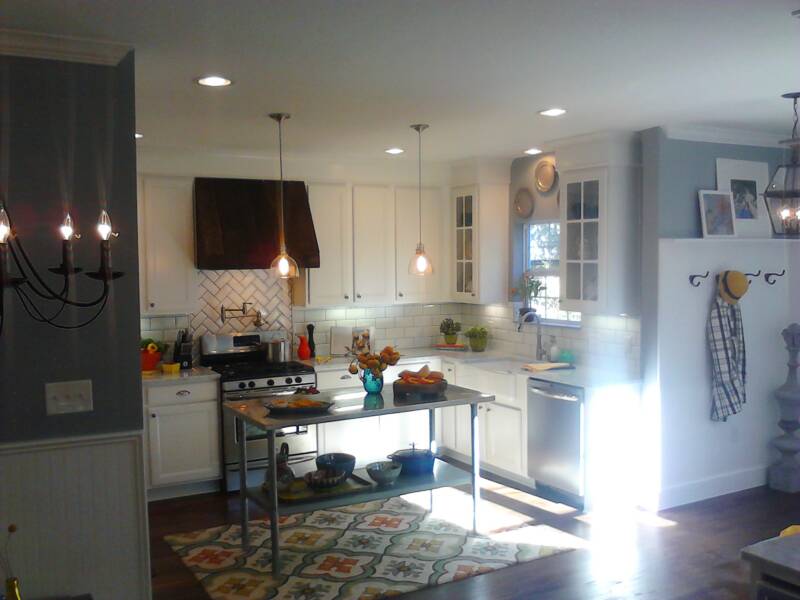
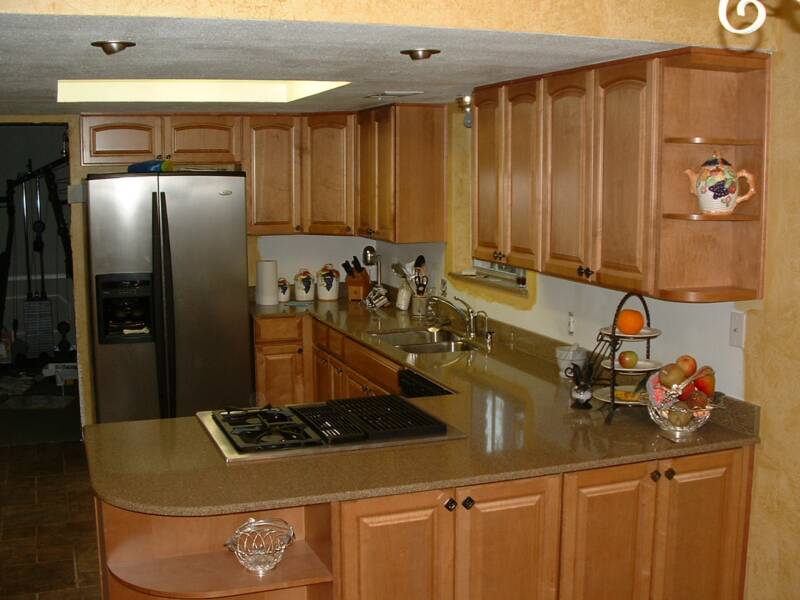
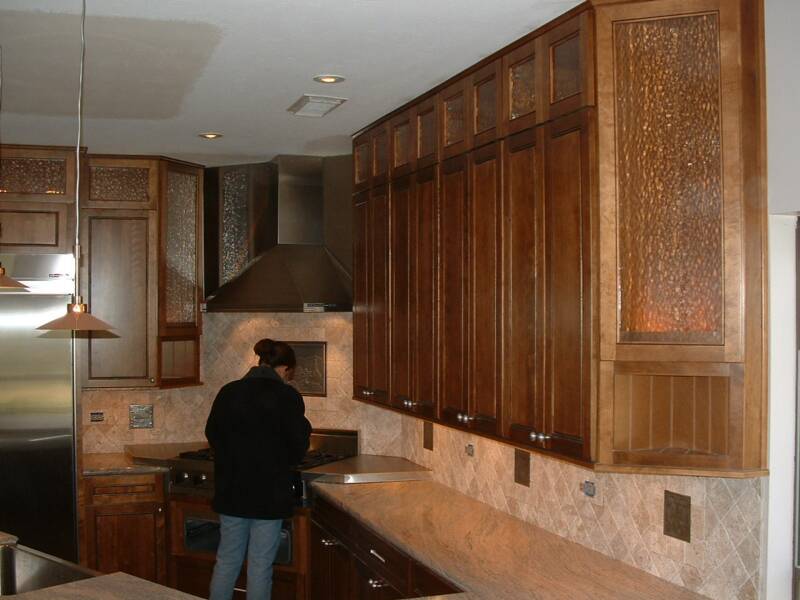

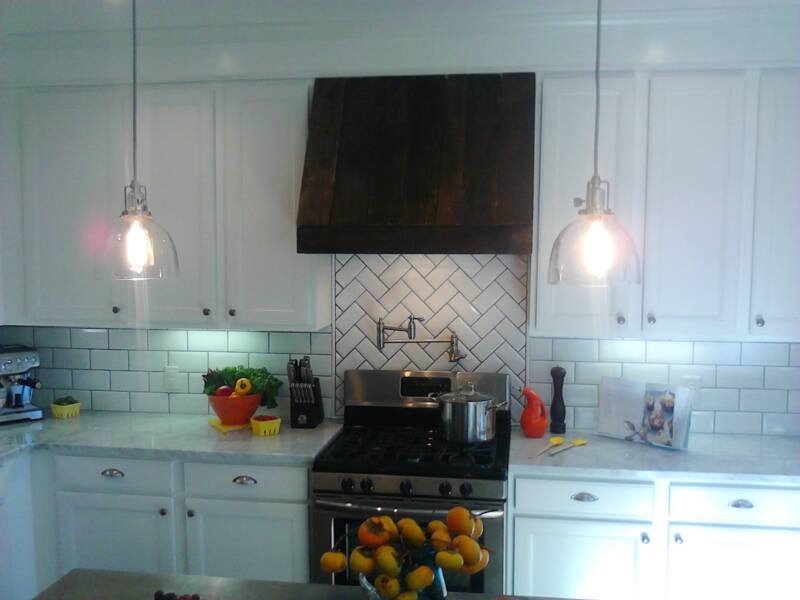
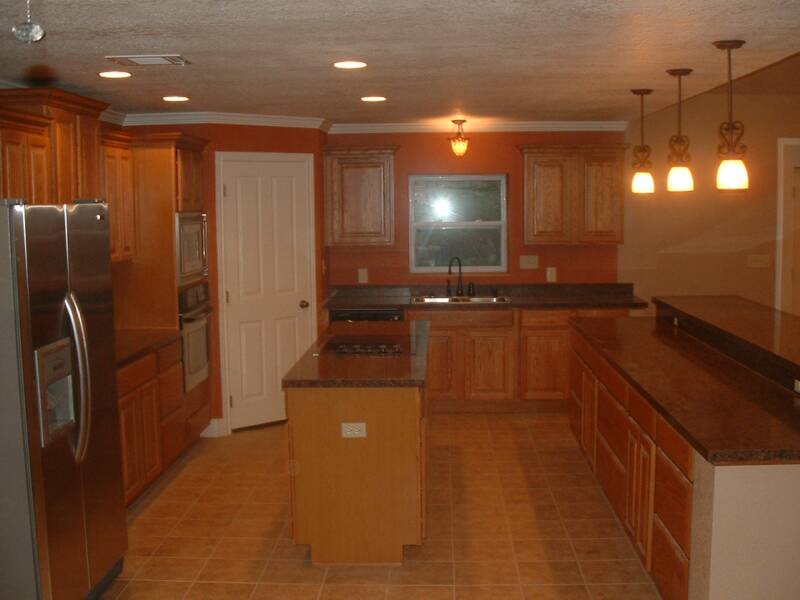
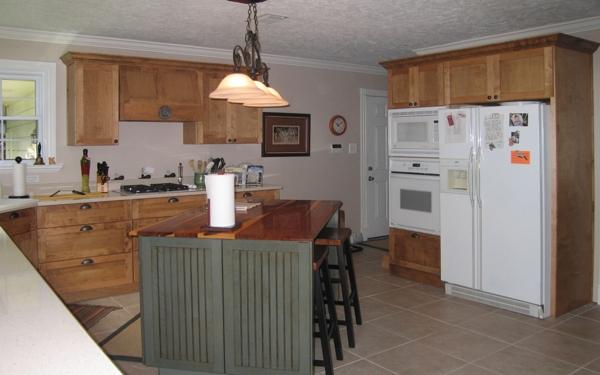
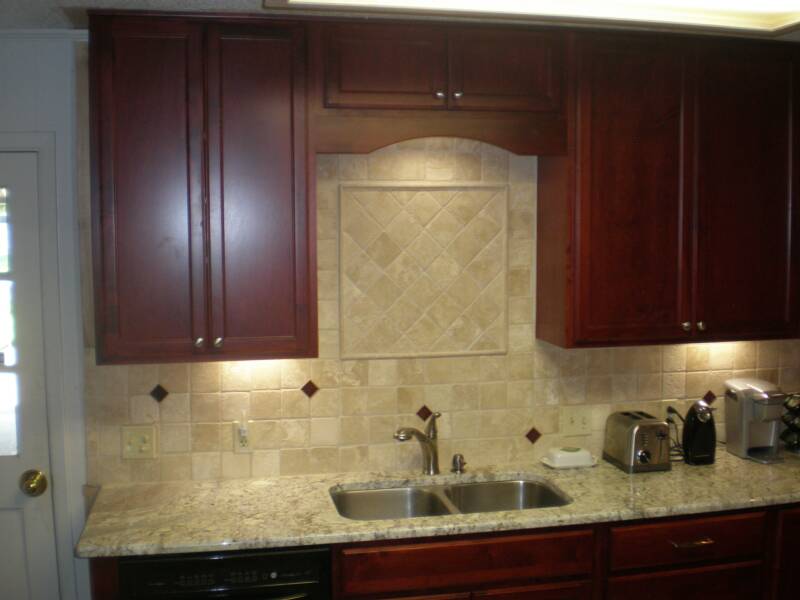
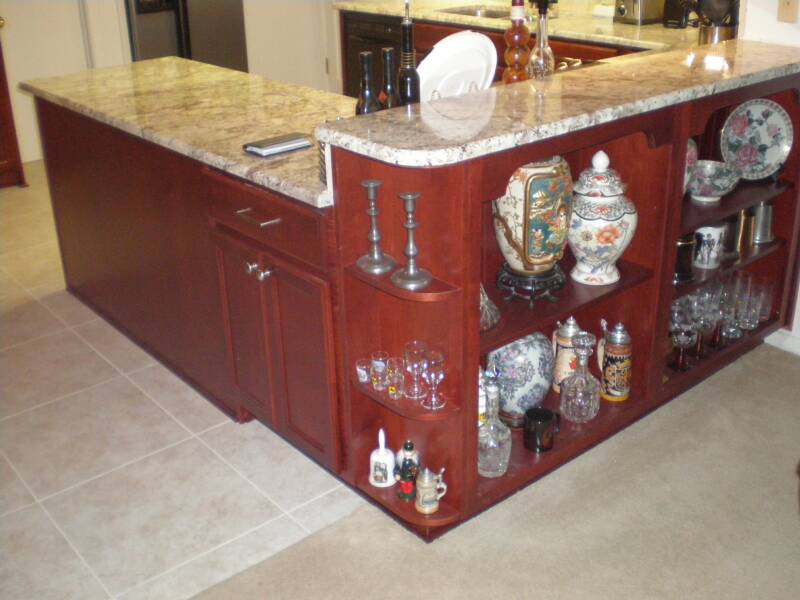
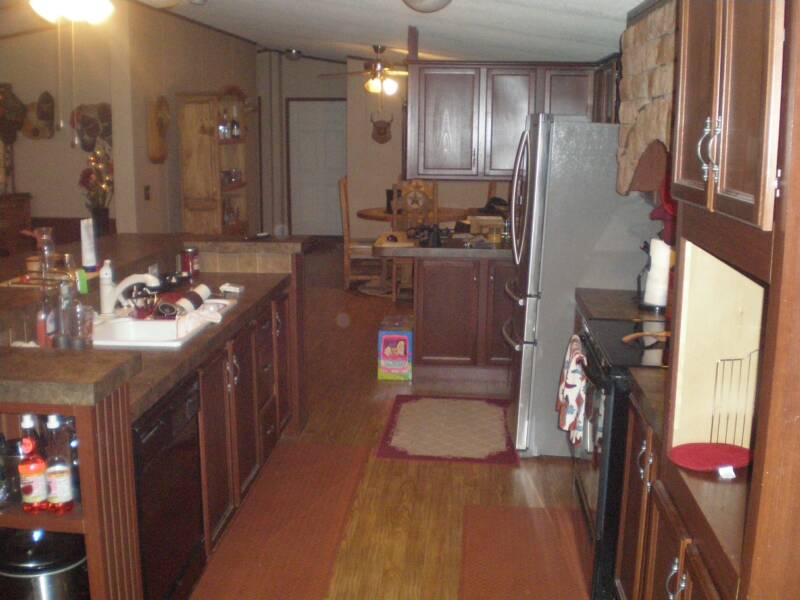
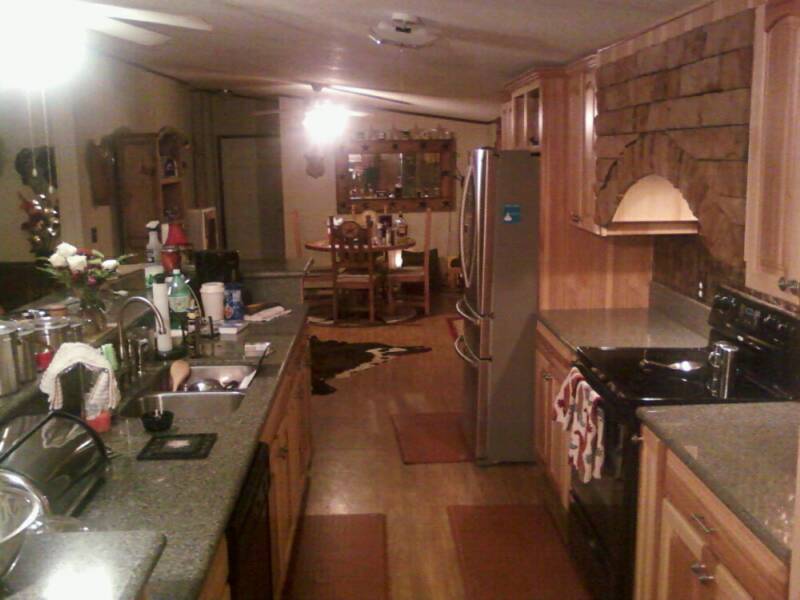
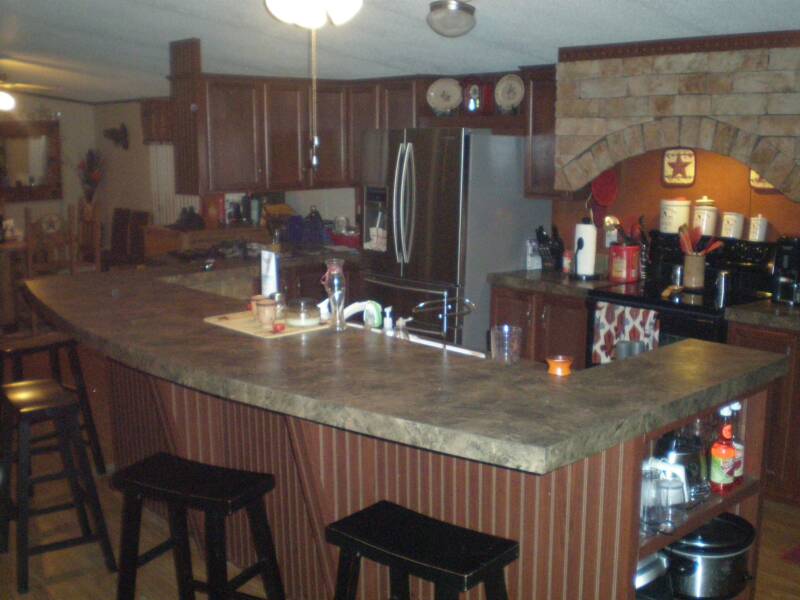
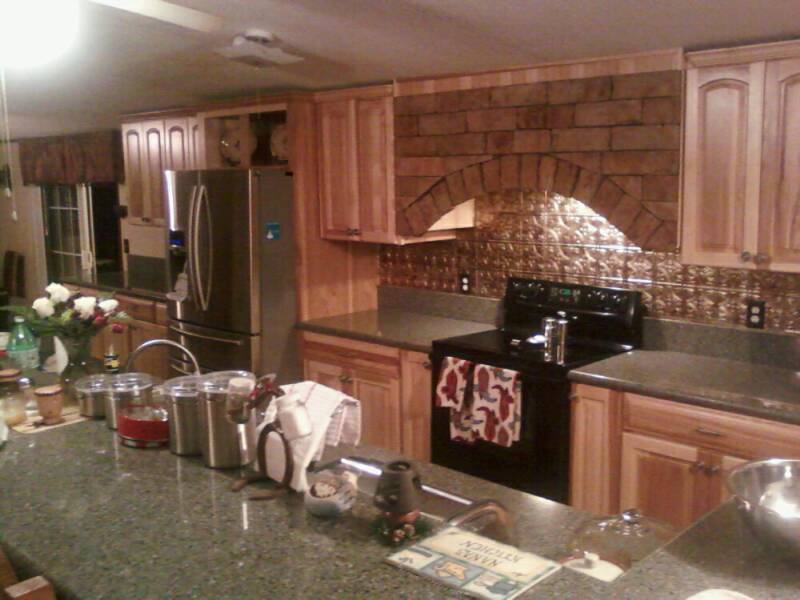
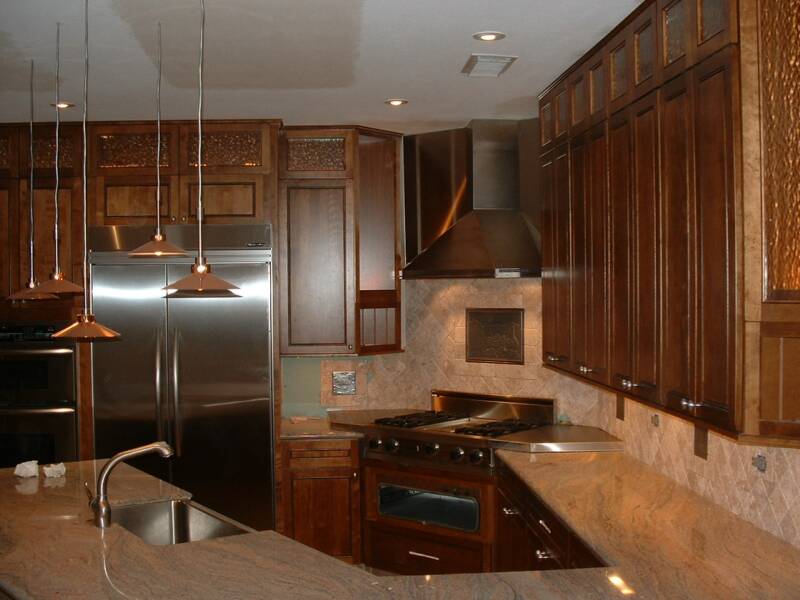
Kitchen Remodels
These are a wide variety of our kitchen remodels. From the most basic of remodels to changing several rooms into one spacious kitchen. We take a lot of pride in changing a room into exactly what our clients want. Most people don't know exactly what they want in a new kitchen but they all know what they don't like about their existing kitchen. Our kitchen design software has been the biggest advantage in allowing our clients to see what their new kitchen will actually look like before they invest thousands of dollars.
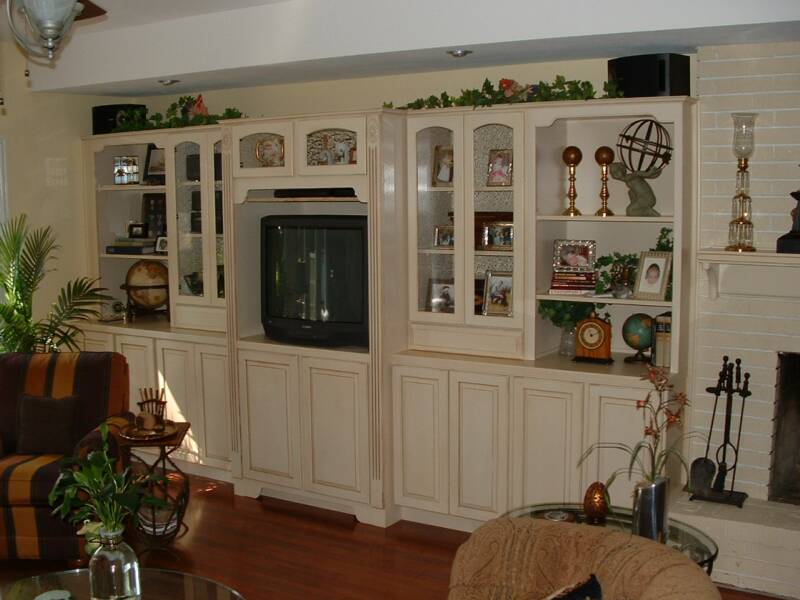
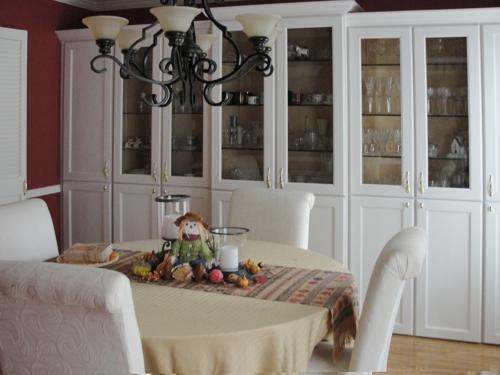
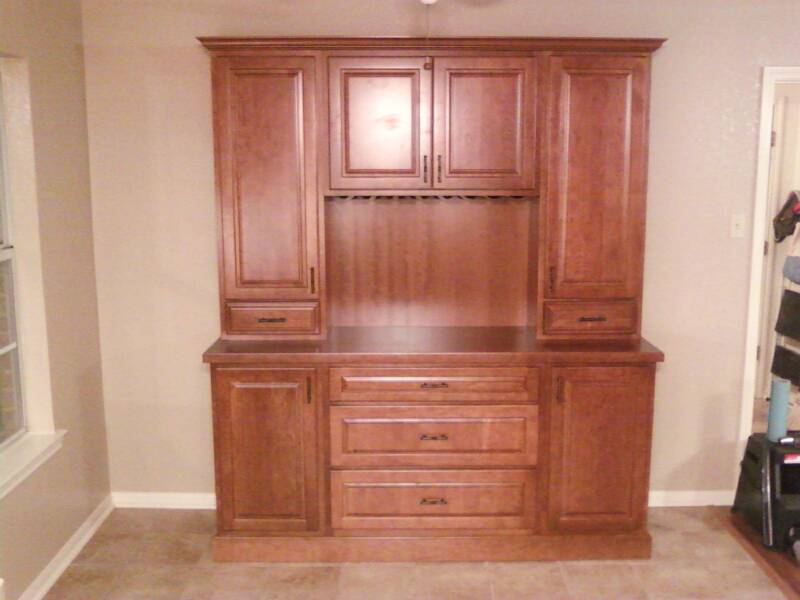
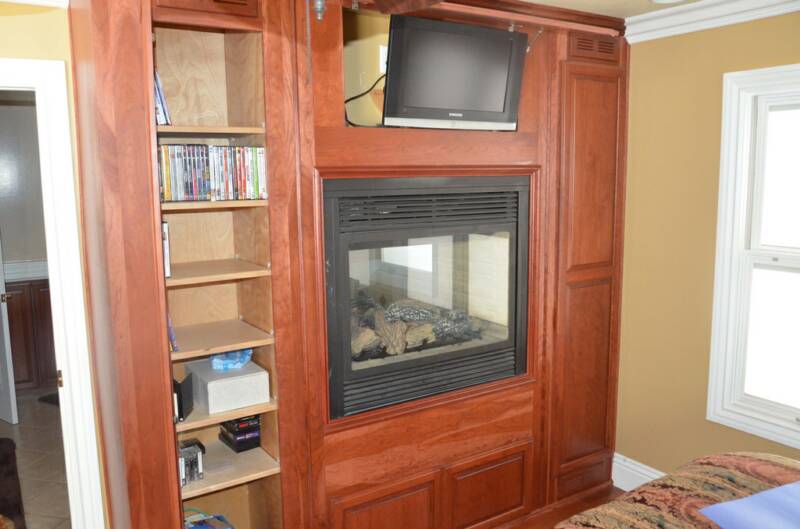
This and That
(Click on any of the pictures below to open the gallery)
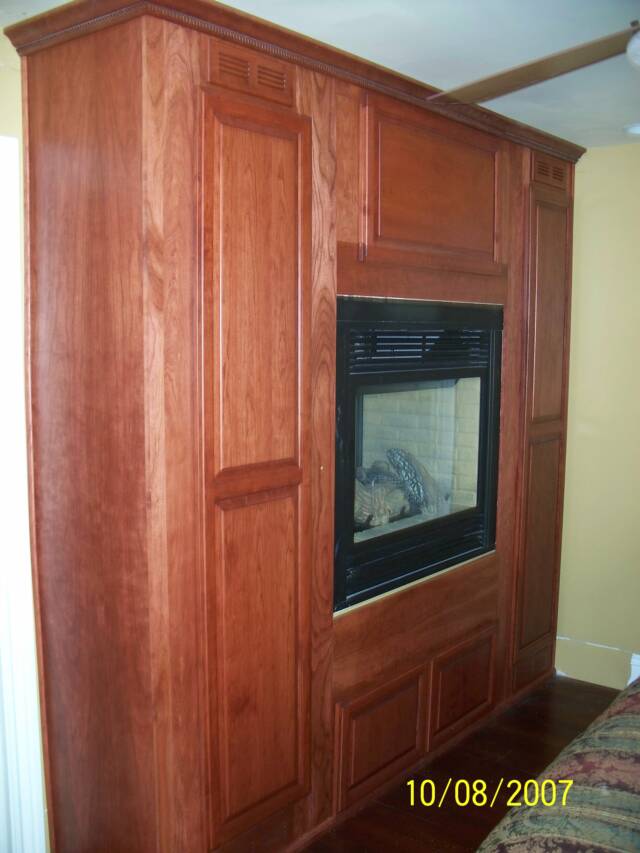
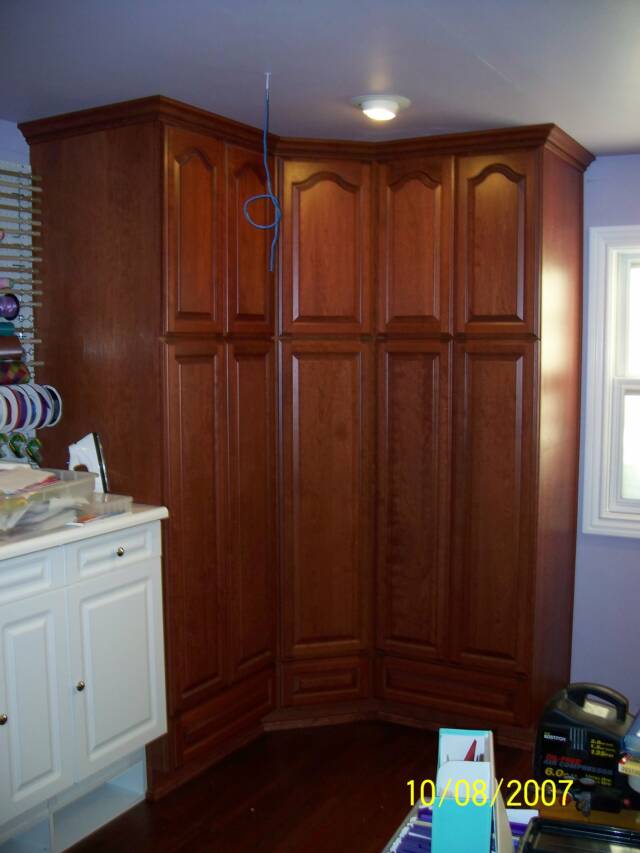
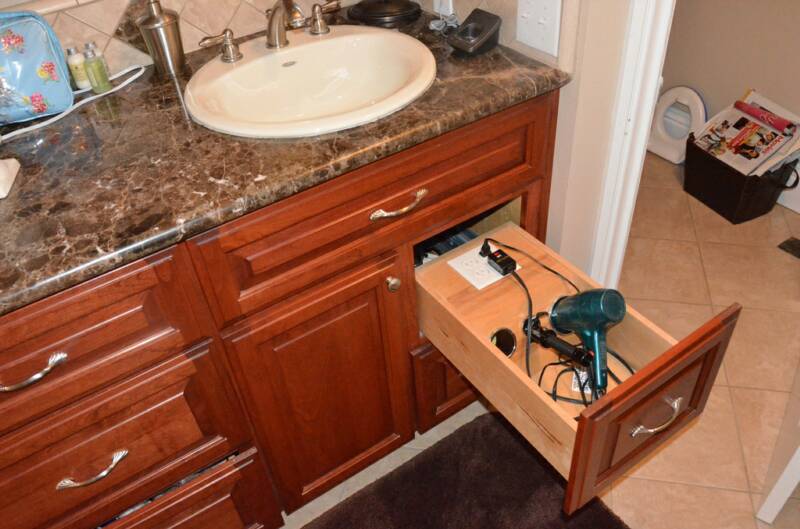
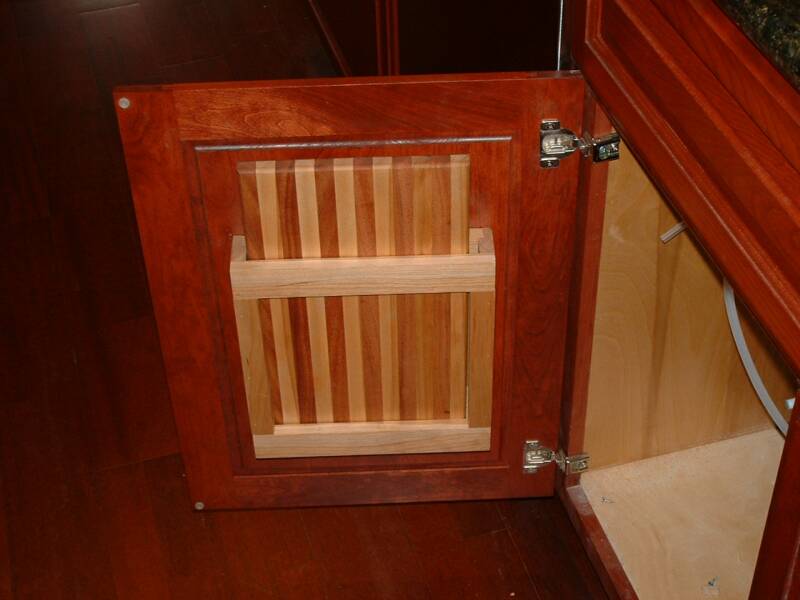
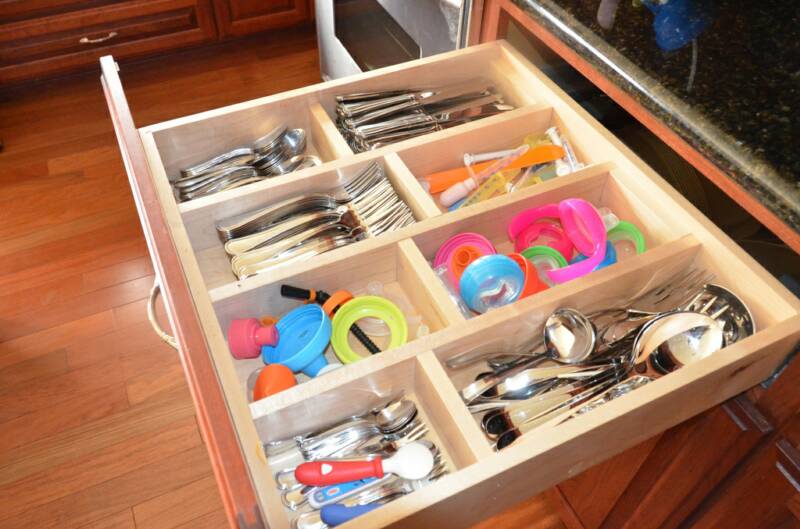
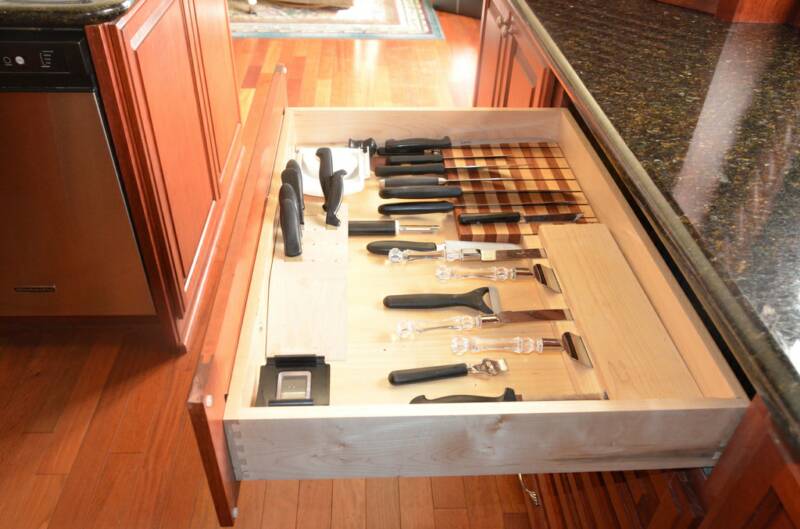
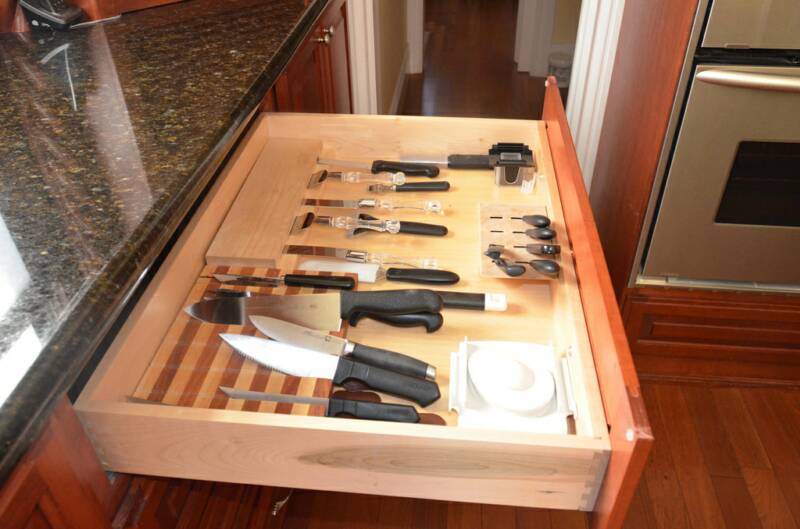
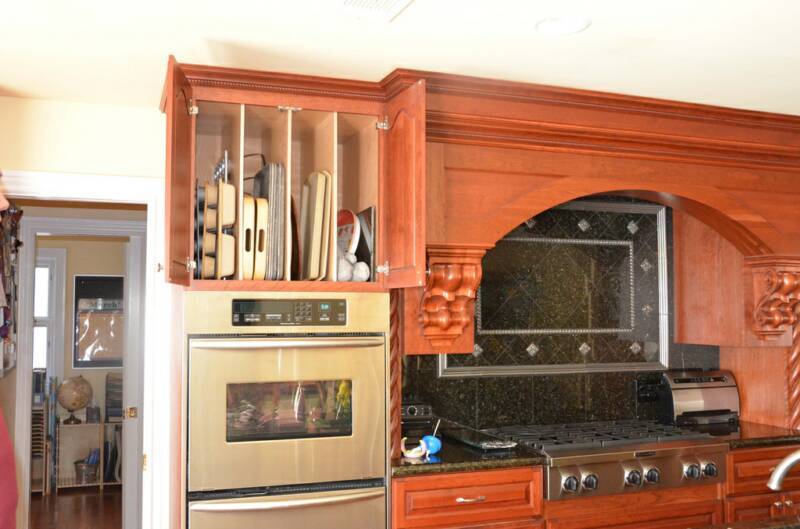
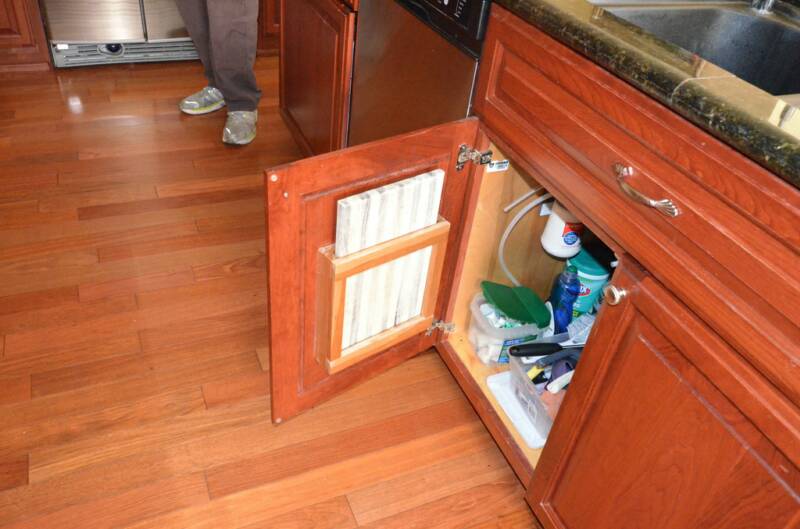
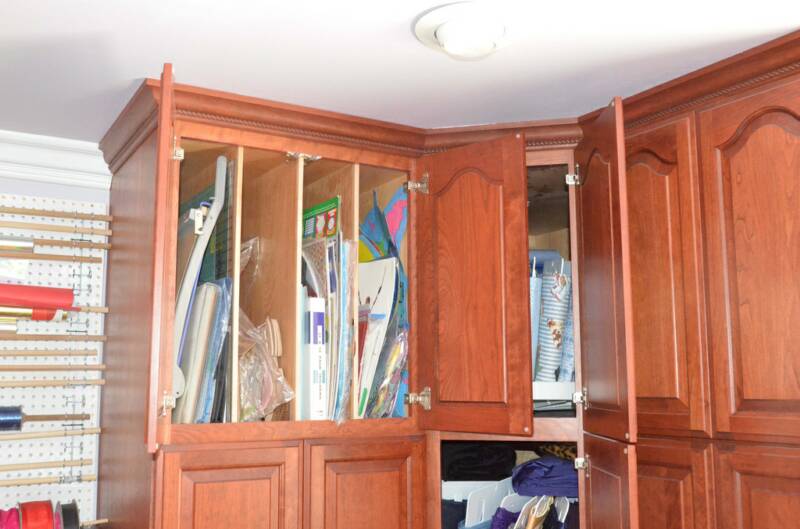
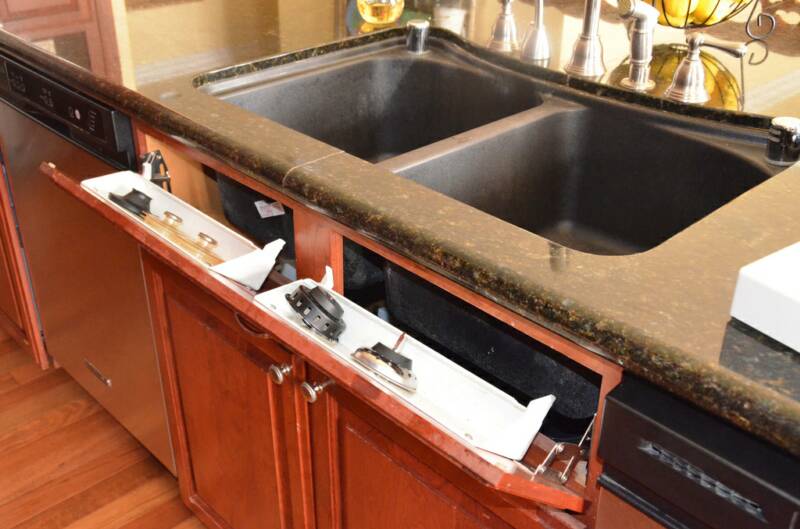
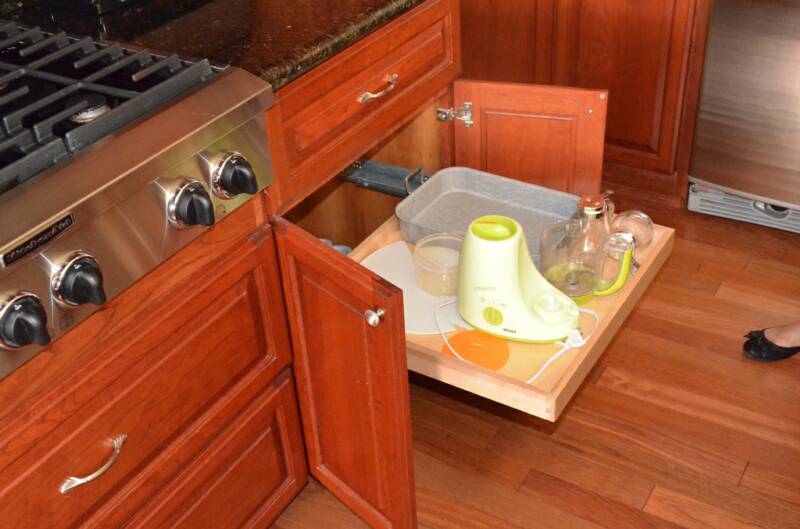
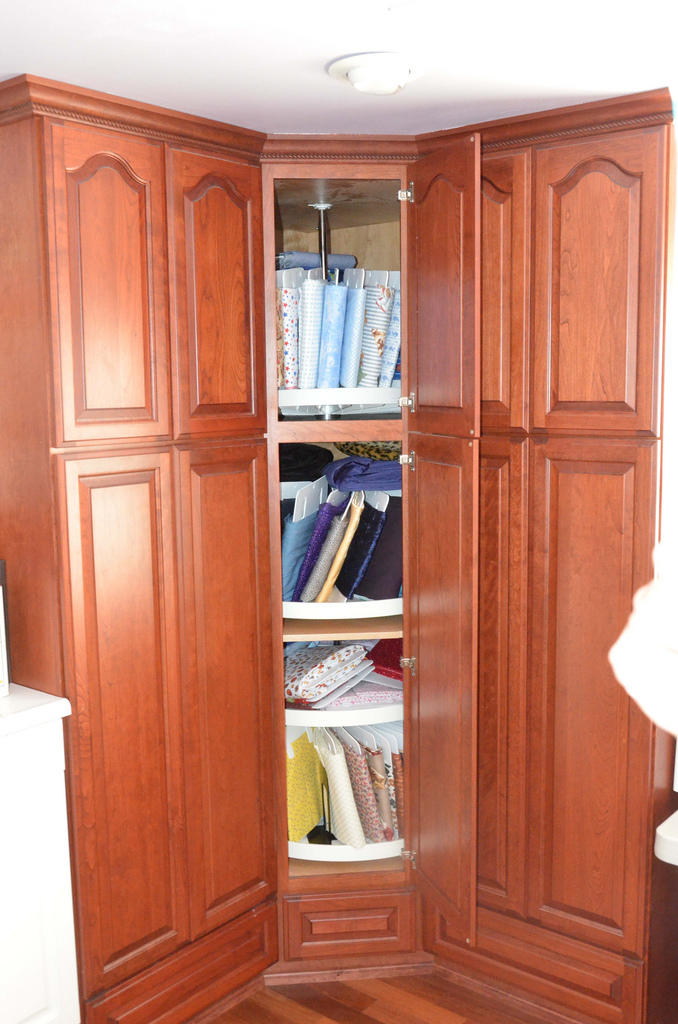
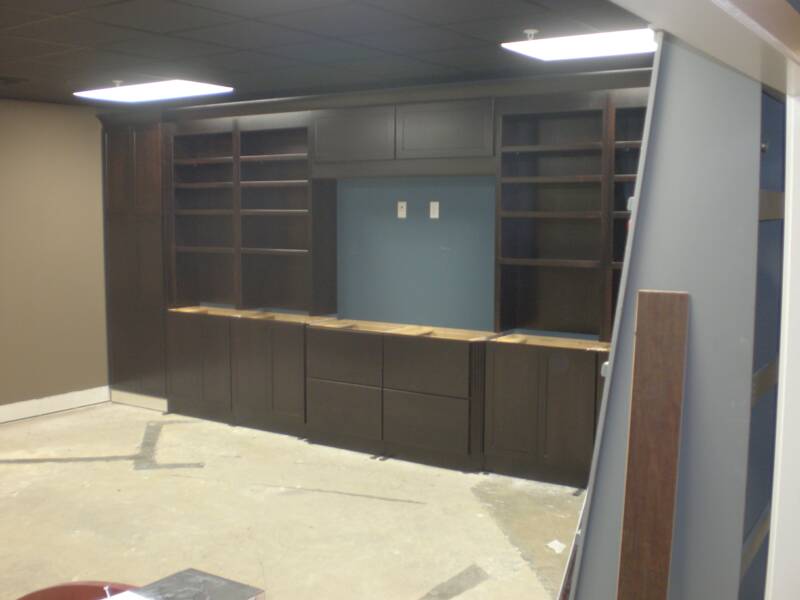
Cabinet Accessories
These are some photos of our custom cabinet accessories. There are thousands of different cabinet accessories on the market today but some people require things that aren't as main stream. The photos below all came from the mind of a brilliant client of ours from California. She knew exactly what she wanted and needed someone to take her ideas and make them happen.


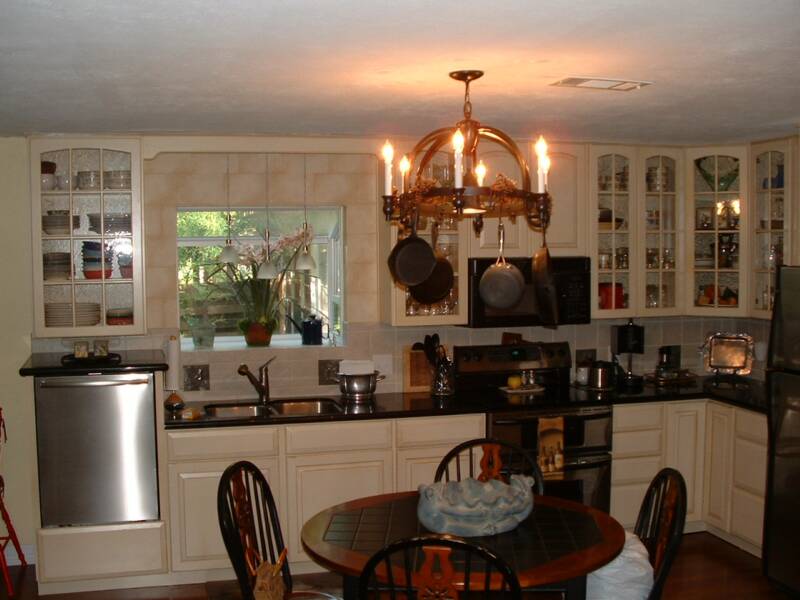
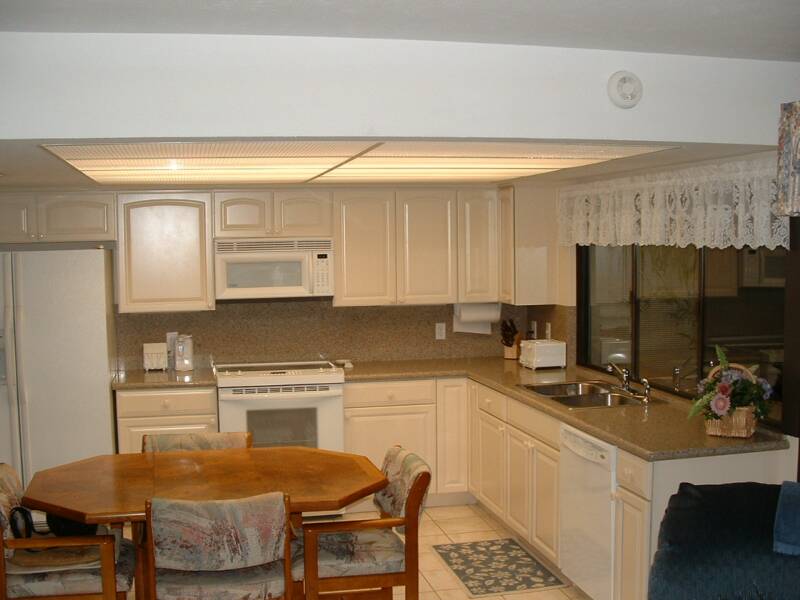
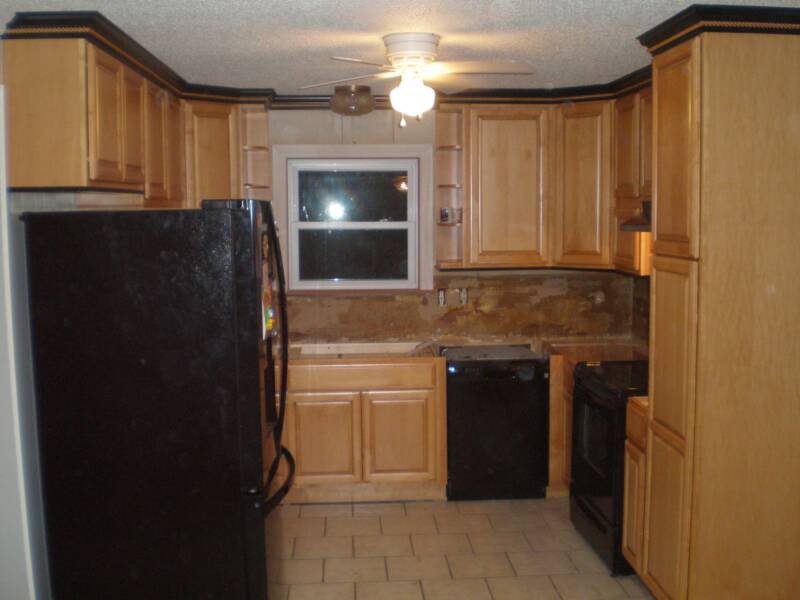
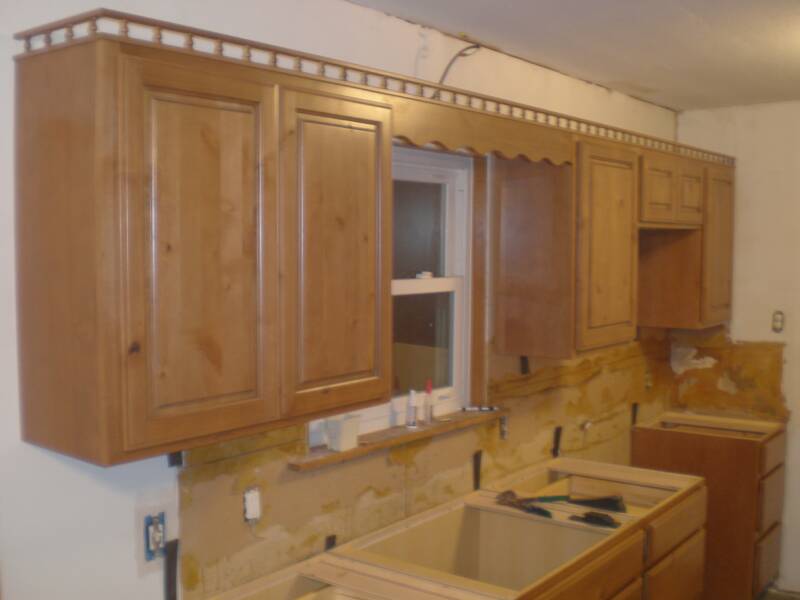
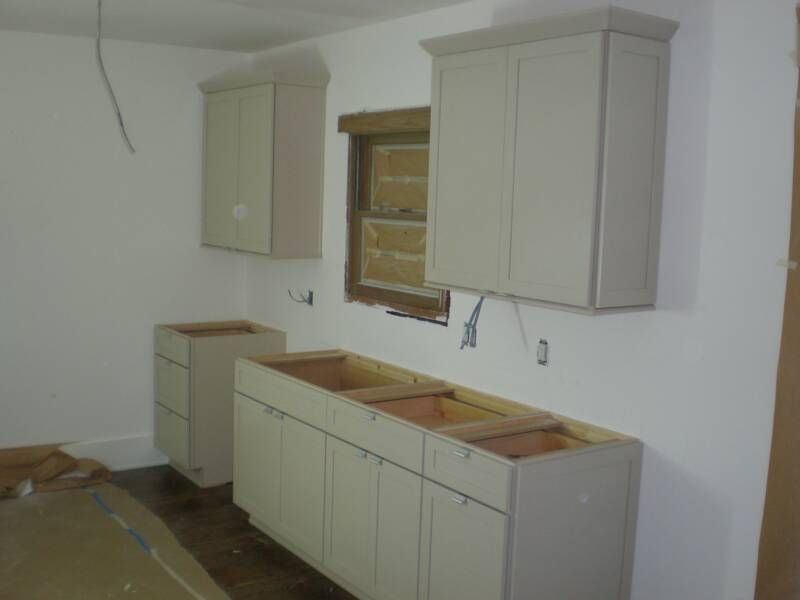
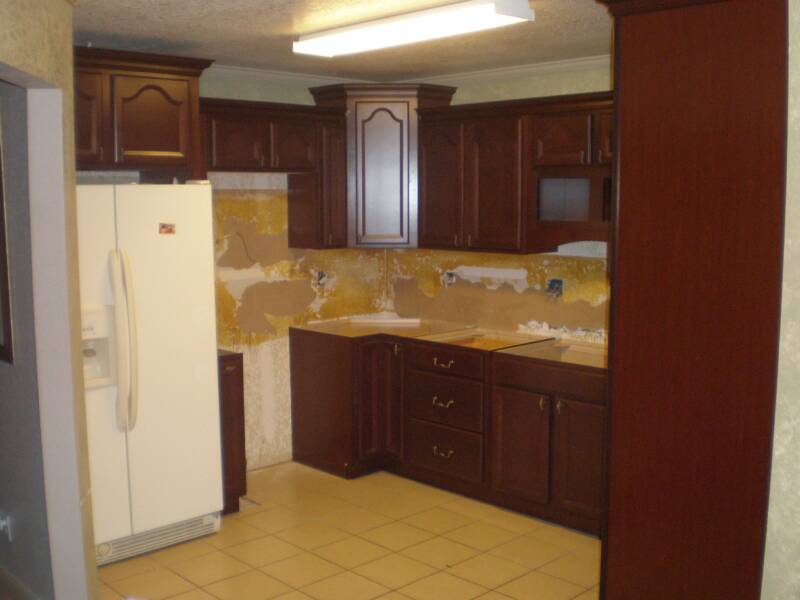
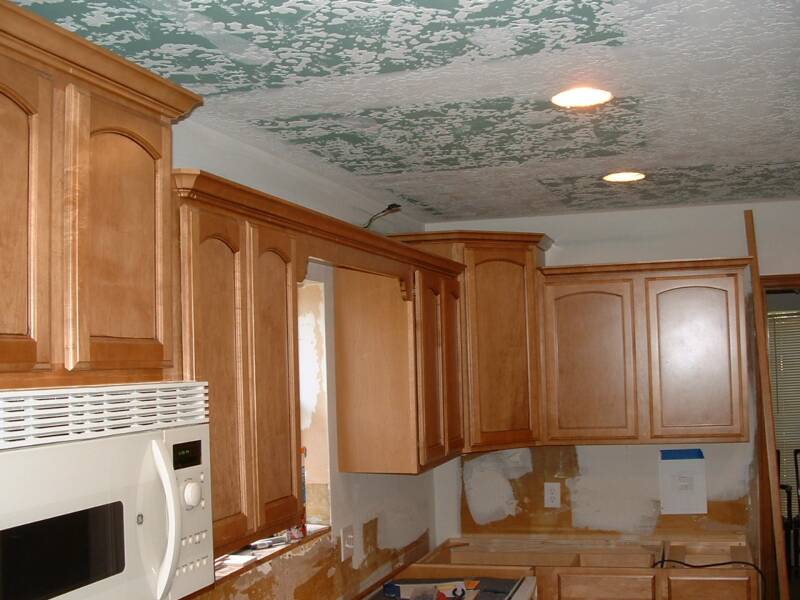
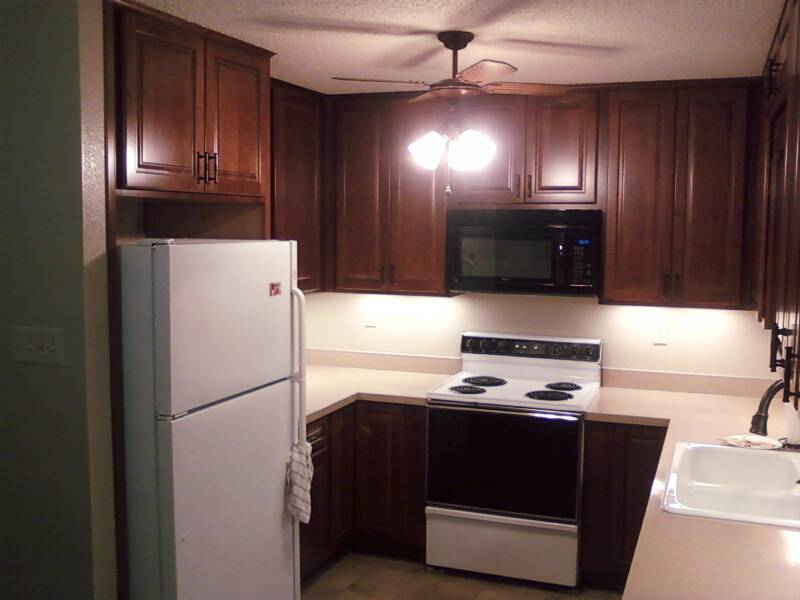
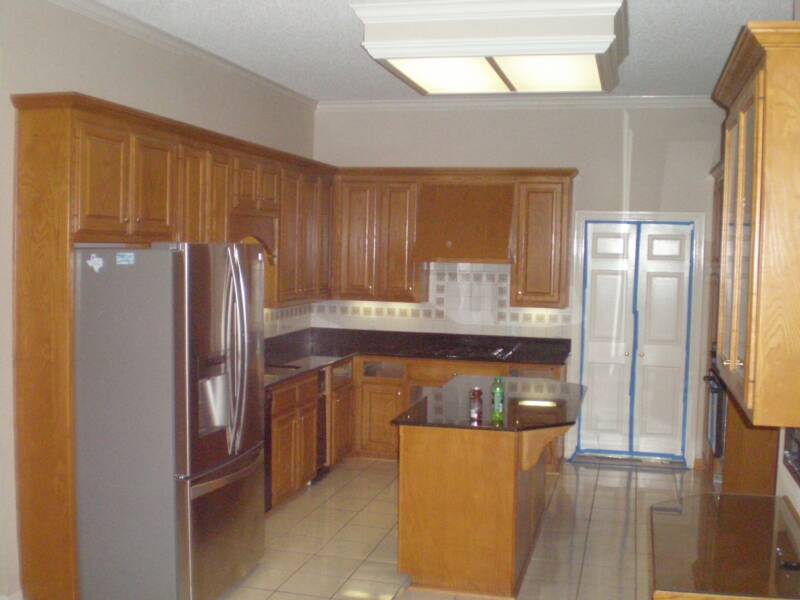
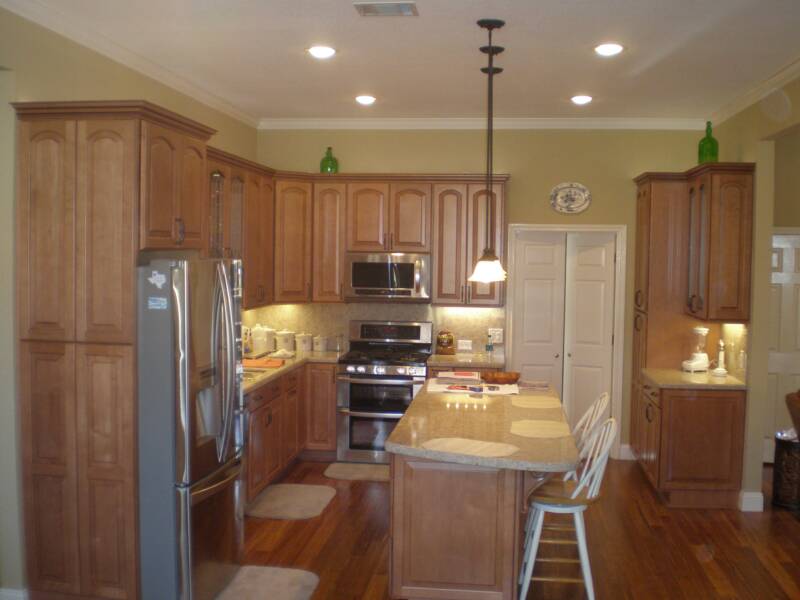
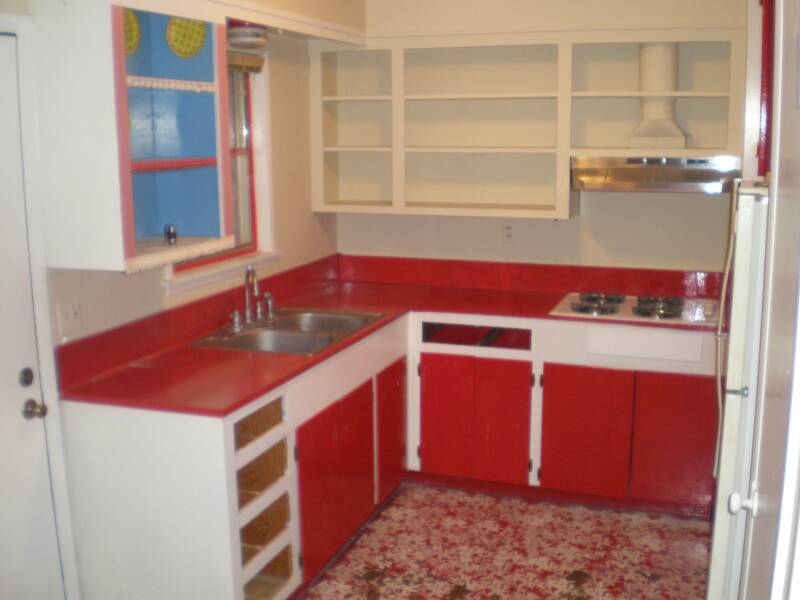
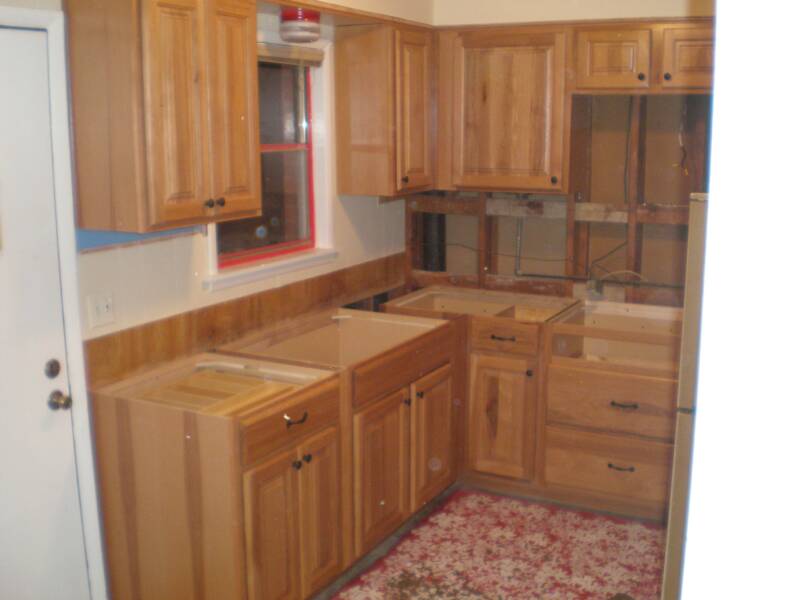
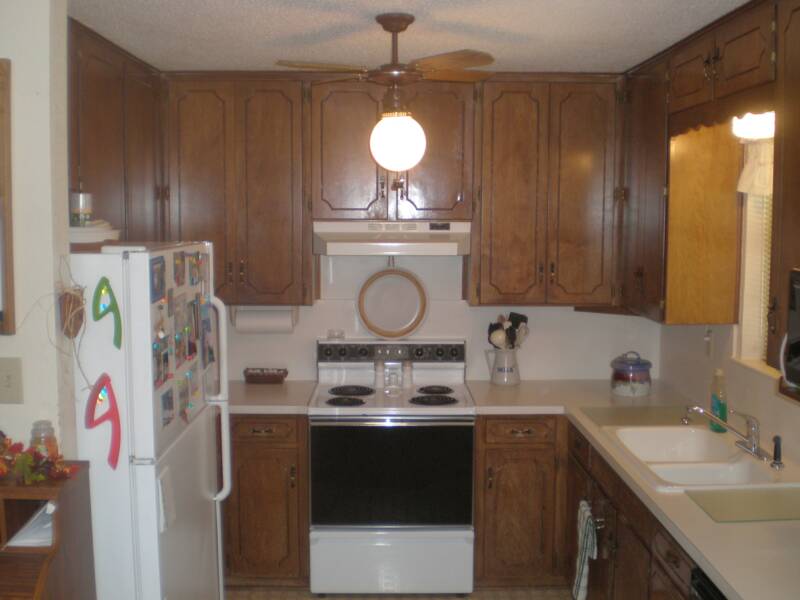
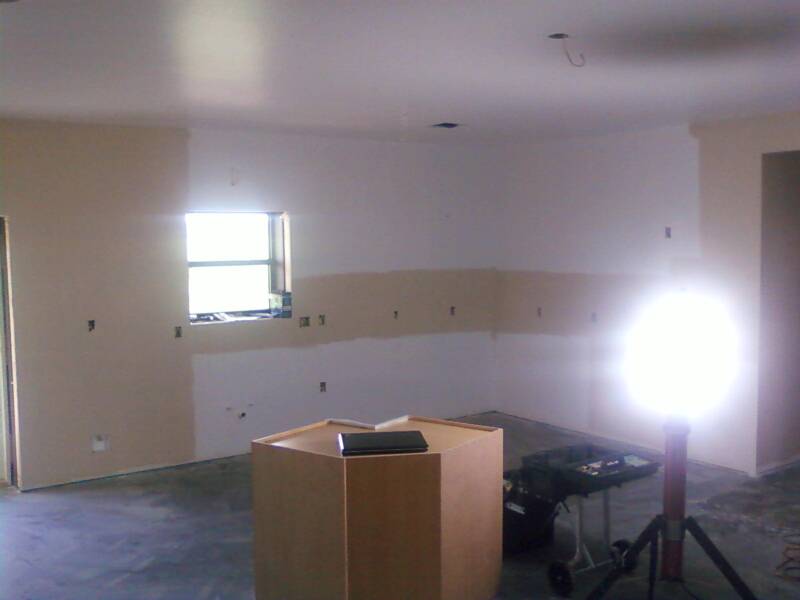
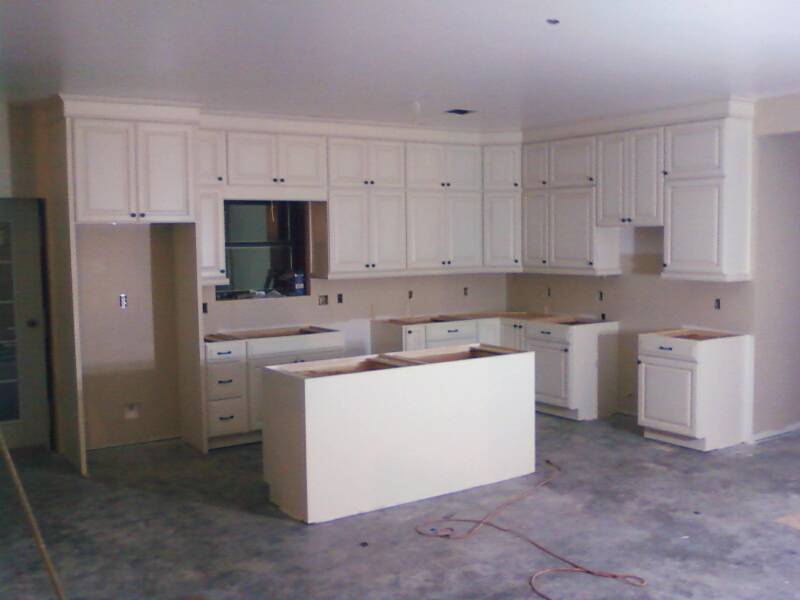
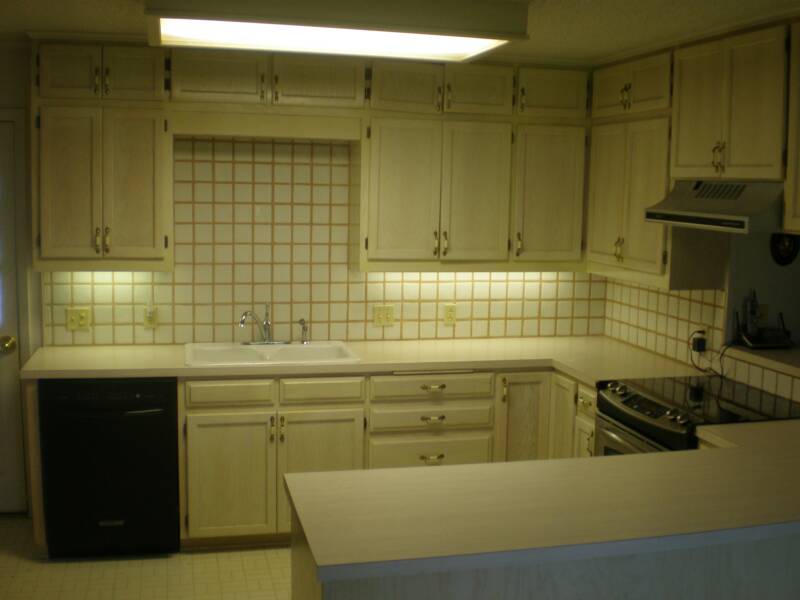
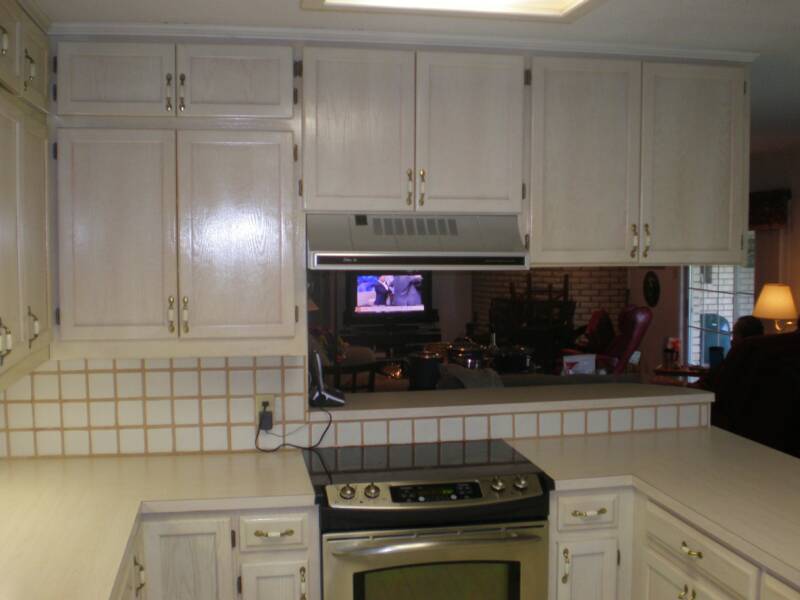
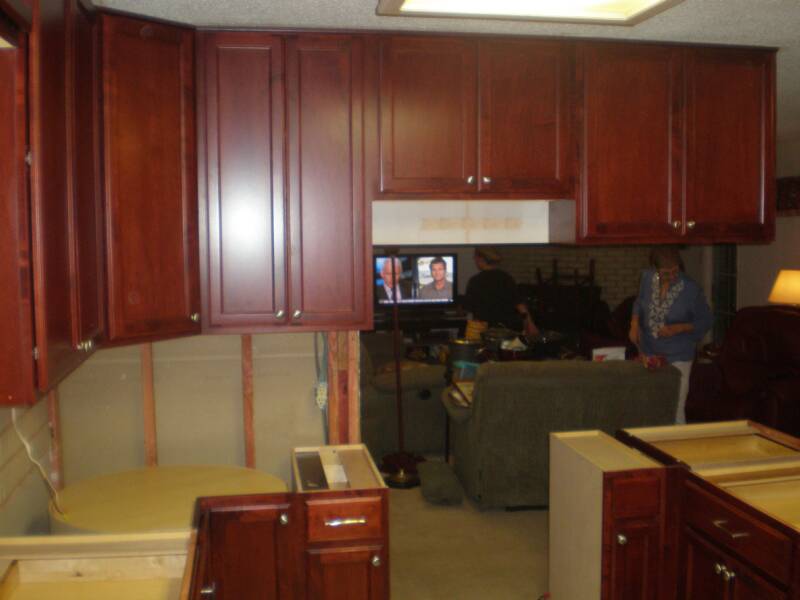
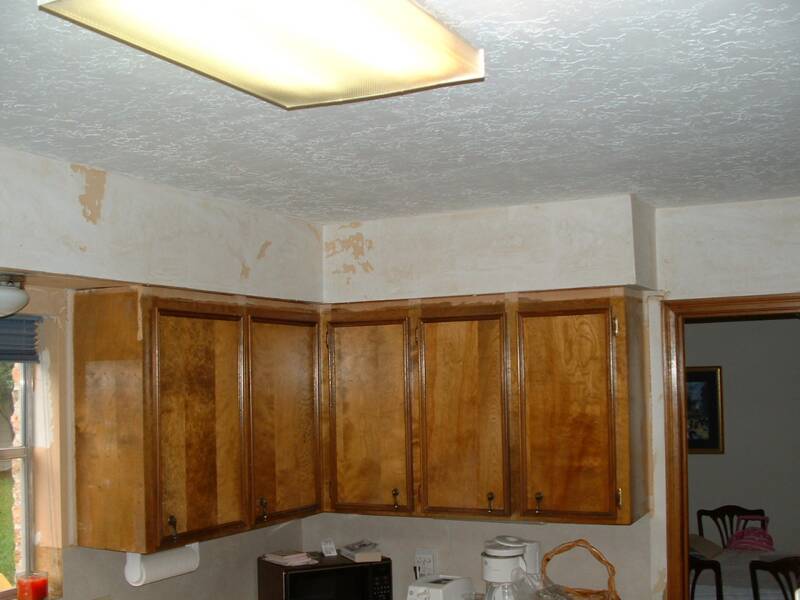
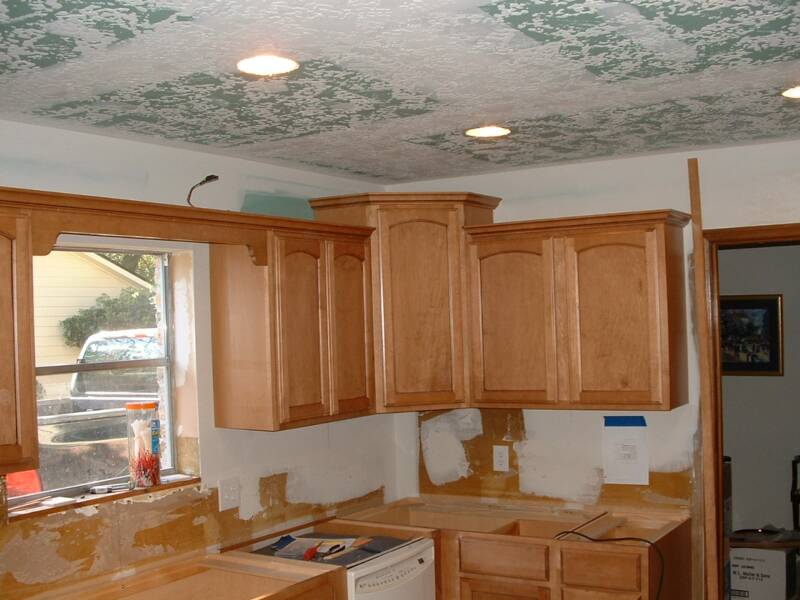
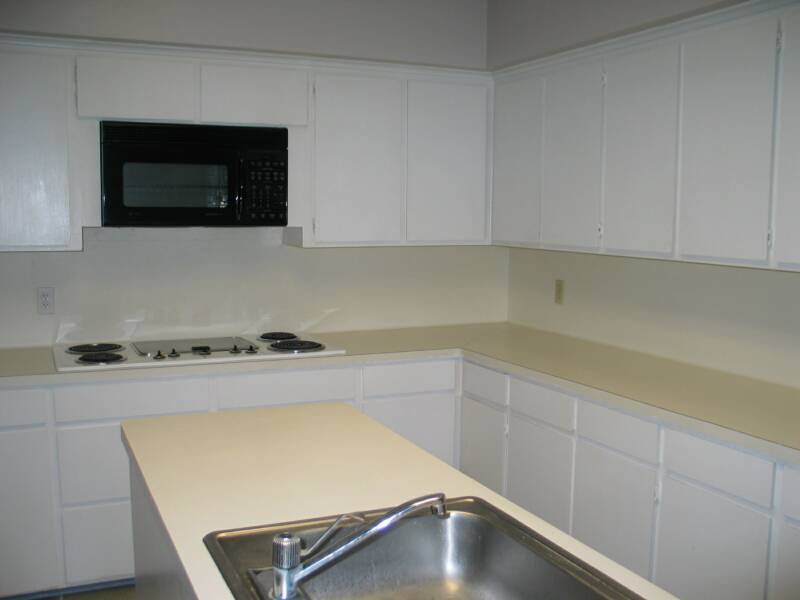
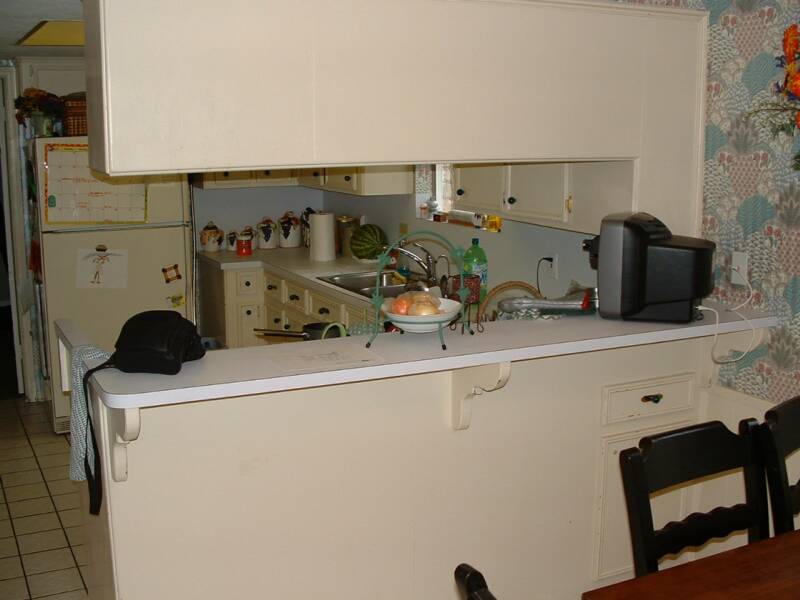
Kitchen Before and After
Before and after pictures are always a favorite when it comes to kitchen remodels. Some people replace what they had with something new while others completely remake their space with all new ideas.

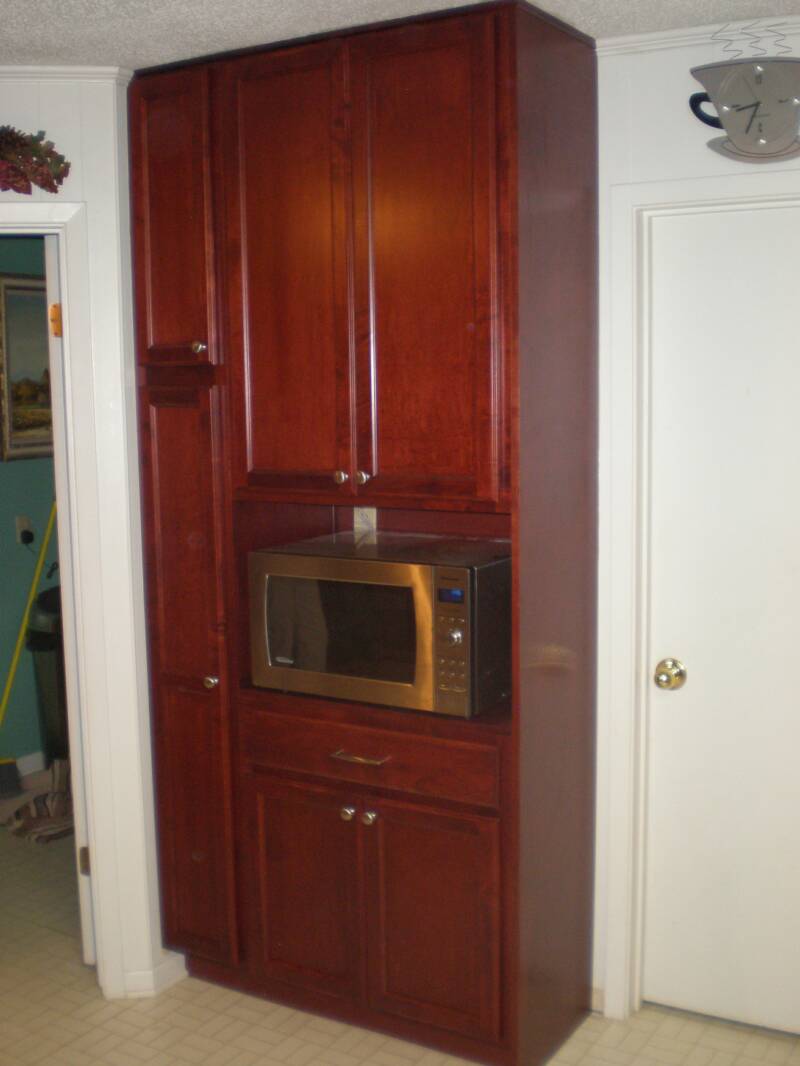


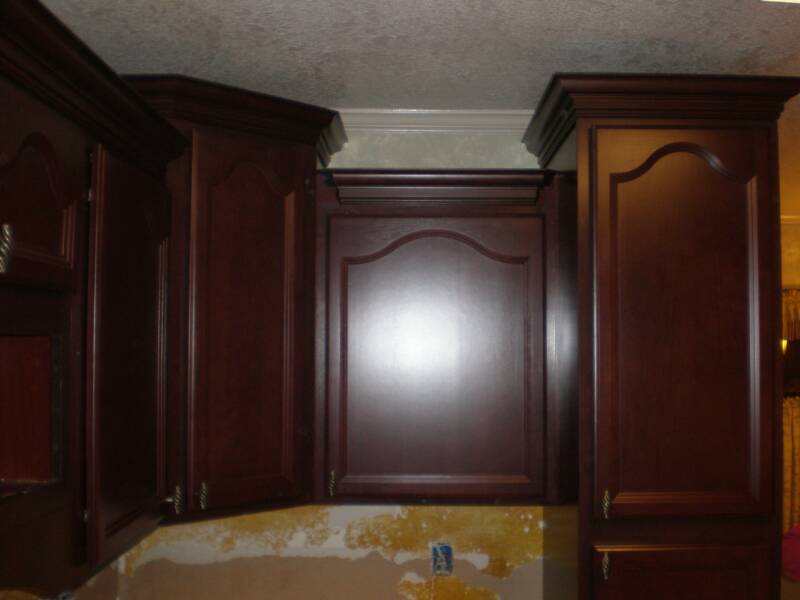
Trim Applications
A great 'litmus test' for a good cabinet installer is to see some pictures of his different trim applications. If a cabinet installer can only do basic trim applications then he can only install basic kitchens. There is a lot of information on our Cabinet Installer page that will explain what to look for and why it's so important for you to hire a good finish carpenter to install your cabinets.
Copyright 2002 Wooden Concepts: Custom Cabinets and Kitchen Design. All Rights Reserved.
Email Us


Kitchen Designs
These are some design renderings that show just how powerful our kitchen design software is. Our kitchen designs are so realistic, you will think that you are looking at actual photos. This software will enable you to see what your finished kitchen remodel will look like before you even start on your project. People are using this service all over the country to keep their contractors accountable. The days of a contractor telling you "That's what I thought you wanted it to look like" are gone for good. The last two pictures in this gallery show a kitchen designed in our software and the actual finished remodel.


Wooden Concepts
Wooden Concepts